Showing posts with label breakfast. Show all posts

The Perfect Clumpy Granola Recipe

Whenever I make this I should seriously make a double triple quadruple batch! I find myself eating it for breakfast, lunch, snacks, and even dinner if Trevor is out of town!


The secret to making this clumpy granola is the "oat flour." Otherwise you end up with granola that leaves you feeling like Black Beauty munchin' on treats from her oat bag! Been there, done that, and don't recommend it! So be sure to grind half your oats to get the perfect granola clusters!


Ingredients

10 cups oats, grind 1/2 of them to a flour
3 tsp cinnamon
1 tsp nutmeg
1 cup sucanat (or other unrefined sugar like coconut palm sugar)
1/2 cup honey
1 cup coconut oil
2/3 - 1 cup water
1 1/2 tsp salt
5 tsp vanilla extract

1-6 cups dried fruit of choice (craisins, raisins, coconut, apple chips, go wild!)
1-4 cups chopped nuts or seeds

Instructions 

Preheat oven to 300

Stir together oats (half of them ground to flour), cinnamon, and nutmeg in large bowl

Have all ingredients ready and stir constantly so you don't burn your sugar on the next steps! Heat sucanat, coconut oil, and honey over medium heat until the sugar is melted and kinda bubbly.  

Add the water, salt, and vanilla extract. Stir until the salt is completely dissolved.

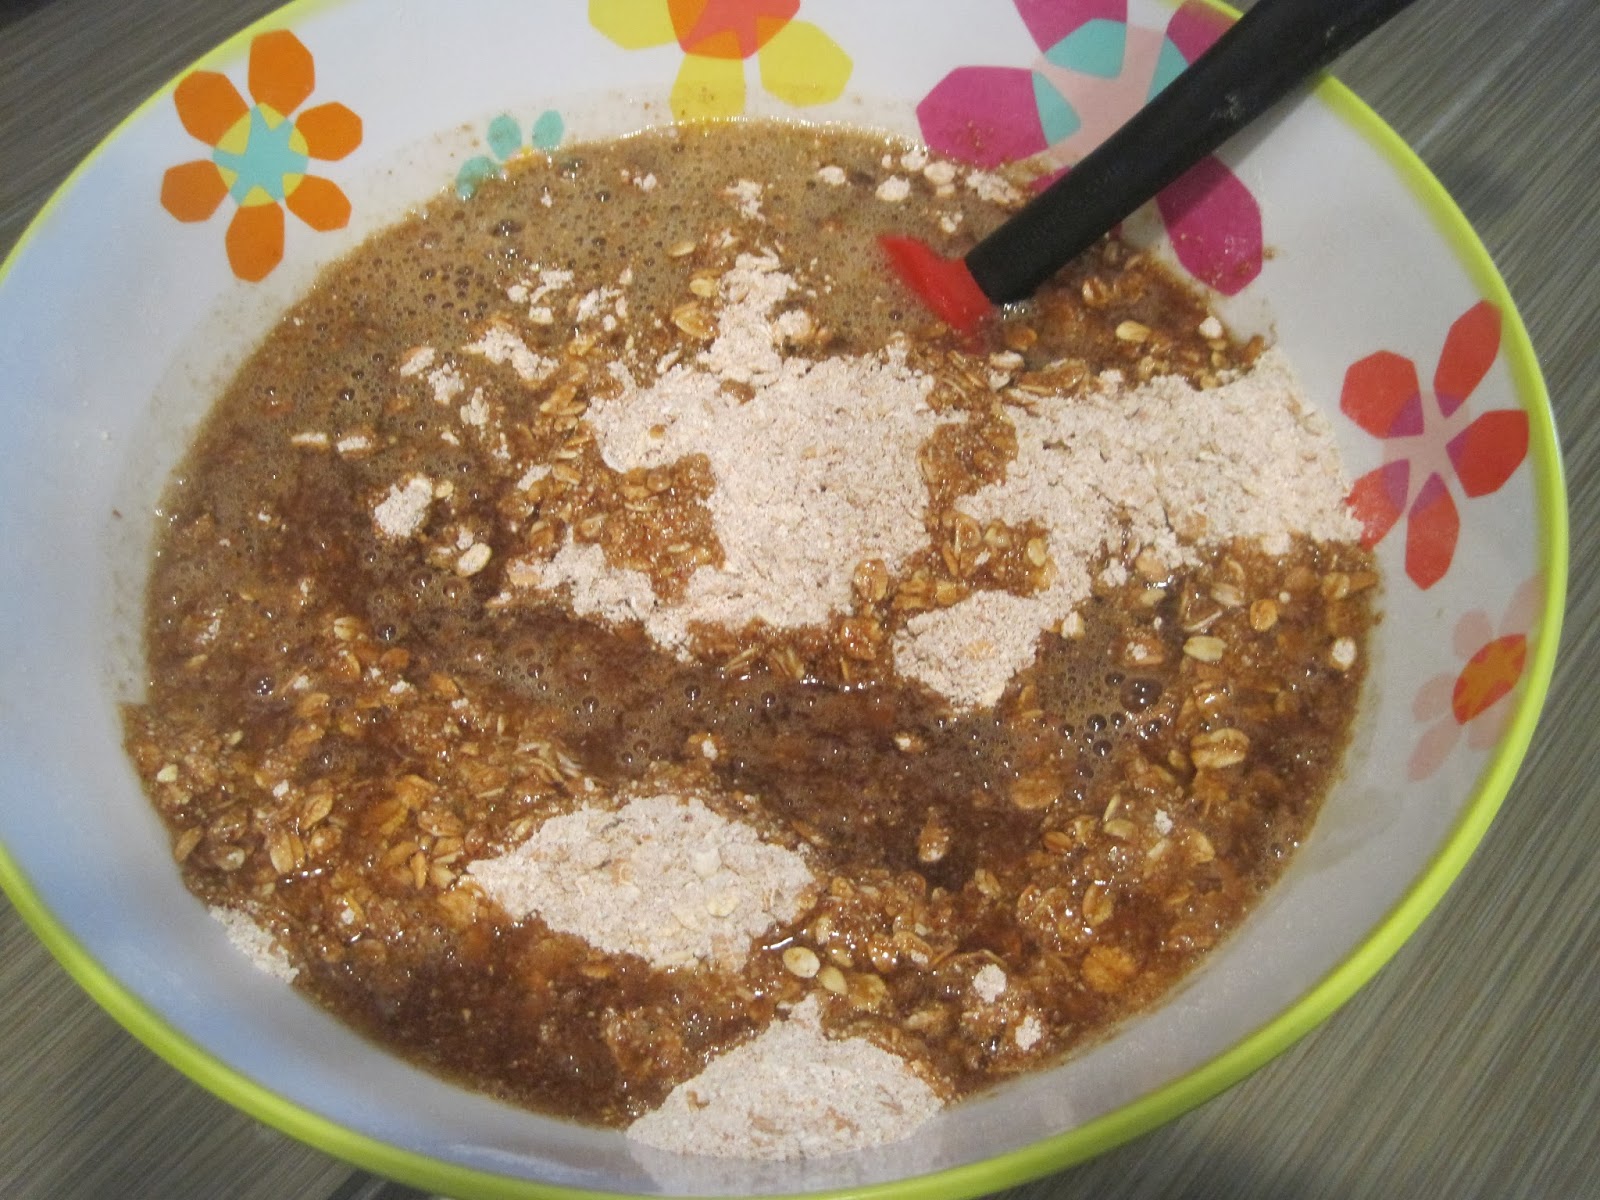
Pour sugary, sweet solution over oats and mix until all oats are moistened. Let stand 10 min.

Spread granola out on baking sheet(s) leaving some large clumps. Bake until dry, checking every 15 minutes and siring occasionally. Break up the clumps in to preferred size about half way through baking. 

Mix in desired amount of fruit, nuts, and seeds.

Hint: Be careful not to over-bake/burn (I've done that and it's the pits!). If you take it out too soon and your clumps are still a little moist after they have cooled you can always toss it back in the oven!

Then EAT, EAT, EAT!

*****

Warning: This go around Trevor let me know that if there was one thing he would change about this granola it would be to make it more sweet. Wellllll . . . (a little secret) I left out the white and brown sugar on purpose. I thought it was great, but I'm eating mostly a processed sugar-free diet right now, so maybe my taste buds have been altered. Although it hasn't been a complaint in the past. So there you have it, you've officially been warned and if you come up with sweeter healthy renditions to this recipe, please share! Or just add more sweet fruit and pat your self on the back for bein' all "crunchy!" 


*****

And in case you do better with pictures. Here's a few I snapped along the way. 

The sugar gets all bubbly like this


I turned my heat down a bit so it wouldn't burn. I even slid it off the burner while I grabbed my water.


All watered down


You'll want to measure these and not drop them right in, of course! 


Stir, like a mad-woman, unless you are a mad-woman like myself, then just stir! 


I used my hands at the end to press in any remaining dry parts. Don't worry, I washed my hands after the last diaper change!!!


Don't forget to lick your fingers after this step! Mmmm....


Dairy-free Egg-free Real Food Waffles


Mmmm.....waffles. These aren't going to taste like the eggo-waffles in the freezer section (they'll probably be much better!). And the fact is I feel good about feeding them to my family and they didn't take long at all to whip up! And if you're looking to be efficient you'll make a double triple quadruple batch and put the leftovers in the freezer. And for the record I'm not vegan anymore, we're sadly avoiding the nourishing benefits of egg and dairy because of my son's allergies. So enjoy some allergy-friendly waffles (depending on your allergies of course) that are a little more dense and a lot more filling!

Makes 4 Large Round Waffles

Ingredients 
2 cups wheat, freshly-ground*
1 Tbsp sucanat (or preferred sweetener)
1 Tbsp baking powder, aluminum-free
1/4 tsp unrefined salt
2 cups "milk"*
1 "egg" (1 Tbsp freshly-ground flaxseed + 3 Tbsp water)
2 Tbsp coconut oil*, melted

Instructions
Let's keep it simple here!

Mix dry ingredients then add wet ingredients and don't forget the flaxseed is a wet ingredient once you prepare it as an "egg." Easy-peasy.

For those that need an in-depth break down, here ya go!

  • Grind the flaxseed, set aside
  • Grind the wheat, add to large mixing bowl
  • If solid, liquefy coconut oil in saucepan over low heat, remove from heat when melted
  • Add sucanat, baking powder, and salt to mixing bowl, whisk together with forks
  • Slowly add "milk" and stir (if the batter seems too thick add a few tablespoons of "milk" once all the ingredients are added)
  • Prepare "egg" in separate bowl, by mixing 3Tbsp water to the flaxseed, add to recipe
  • Add coconut oil
*****

*Notes*

Milk: Just use your milk substitute of choice. Goat's milk, almond milk, rice milk, coconut milk. Know your product, read the ingredients, and make sure you're using a food you feel good about that isn't highly processed and full of added sugar. I do not recommend soy because of the estrogen, it's highly processed, and from what I understand traditionally consumed as a fermented food.

Oil: Please never-ever use vegetable oil! If you don't like the mild coconut flavor and don't have a dairy allergy, go ahead and melt down some butter instead. Good butter is good for you!  

Wheat: In a perfect world my wheat would have been sprouted first, but let's be honest people, I haven't started planning that far ahead yet! So you'll have to decide where you stand on using freshly-ground and not properly prepared wheat products. You can buy sprouted wheat flour, but I'm not sure about that either because whole-wheat goes rancid within hours of being ground. So even though the whole wheat has phytic acid that our tummies can't break down all on it's own, I felt better using whole wheat than all-purpose white flour. Maybe my reasoning if flawed and I just need to get over the learning curve and start properly preparing my grains!


*****
Time to eat!

Already has a mouth full! And is sporting some grape skin on his finger.

And you may or may not want to sit your waffle over a hot burner on the stove. If I were you I wouldn't, but I'll let you decide! I totally salvaged it by cutting off the burnt side. The Little Guy didn't mind one bite one bit! 


And just in case you need a reminder why you're spending time cooking your family real food!